One skill every driver should have, regardless of age or gender, is to be able to change a
flat tire on a car. One thing you must keep in your car is the original manual that comes with the car. Not only will this give a step-by-step guide on tire changing, it also contains other important information about your vehicle. Before discussing the actual process of tire changing it's important to go over some of the tools and gear, you'll need for the tire change. It's a good idea to keep all of these items together in a bag or toolbox in the back of your car in case of an emergency. For a proper tire change, you'll need a large screwdriver, a tire iron, wheel nut wrench, jack, wheel block, mallet and heavy duty gloves. Fortunately many cars come equipped with most of these items, so take stock of what your car already has and go from there. Here is a step-by-step guide on changing a tire:
Step 1 - Figure out where everything is on your vehicle. Every car has it's unique approach to changing a flat tire, everything from the location of the spare tire to the exact position to place the jack to lift the car. If you're not familiar with the basics of the vehicle, now is the time to give your owner's manual a once over. This simple step could save damage to the vehicle and help you avoid serious injury.
Step 2 - Move the car out of harm's way. There's no real perfect location for a flat tire to happen. It helps to get your vehicle to an area that's level and free of traffic. When traffic is an issue, place road flares or other warning devices in a location visible to approaching traffic.
Step 3 - Remove the spare and the tools from their storage locations. Big SUV's may carry the full spare tire under the back end of the vehicle. Smaller cars will likely have the emergency donut-style spare, good for short distances until you can get the flat repaired or replaced, located in the trunk.
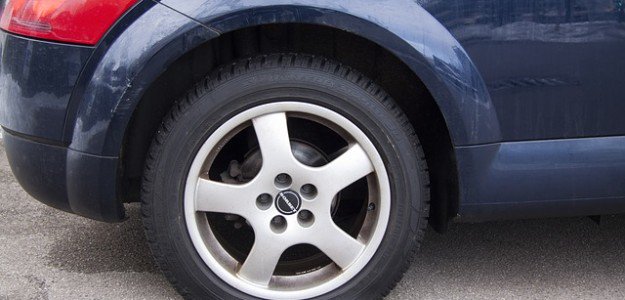
Step 4 - Placement of the jack depends on if you're changing a front or a rear tire. You can find the manufacturer's recommended jack placement by feeling under the frame of the car. It's best to get down and try to eyeball the exact spot. After placing the jack, start the process of cranking the vehicle off the pavement or ground. Depending on the type of rims or wheel covers your car has, you may need a special adapter or tool on your lug wrench to remove those covers to get to the nuts and bolts of the wheel.
*Helpful Hint - Once the weight of the vehicle is off the flat tire, but still touching the ground, it helps to take the lug wrench to break the nuts free. By loosening the lugs in this manner, but leaving them on the vehicle, the car is still in contact with the ground and will reduce the chances of more damage.
Step 5 - Once the lug nuts are free, finish jacking the vehicle up to the point where the flat tire clears the pavement. Finish removing the lug nuts and the tire. Place the spare on the wheel and hand-tighten the lug nuts into place. Get the lug nuts snugged up against the wheel, then start lowering the car to the point where it comes into contact with the pavement. Give the lug nuts a final tightening. Finish lowering the vehicle to the ground and remove the jack. After tossing the flat tire in the trunk along with the rest of your gear, check out that self-satisfied grin in the shine of your vehicle for a job well done. :)
Book An Appointment